There’s simply no better feeling than walking out of the salon with a fresh manicure. However, nail care maintenance can be costly if you choose to visit a professional every time. Wouldn’t it be great if you could apply nail polish perfectly yourself?
Navigating the nail care world can be tricky. From the base coat and top coat to color application, there’s a range of nail tools and treatments to help you on this journey. So, for beautiful nails with a professional finish, you need to know the basics in order to DIY your nails properly. Keep reading to learn which items you need, how to prep your nails, and how to apply nail polish without the assistance of a nail artist.
Before Polish Prep: Things You Will Need
Let’s start at the beginning. Gather the following items to create a smooth system when you start your DIY manicure.
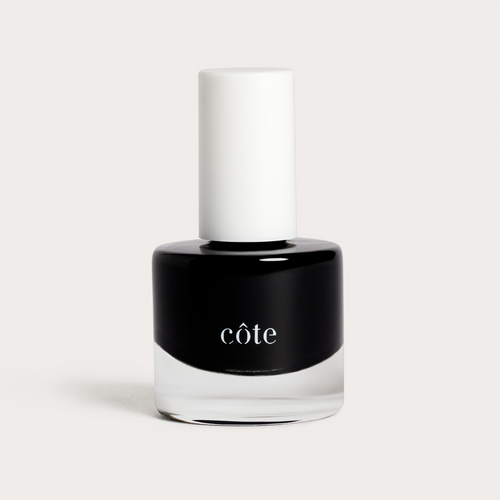
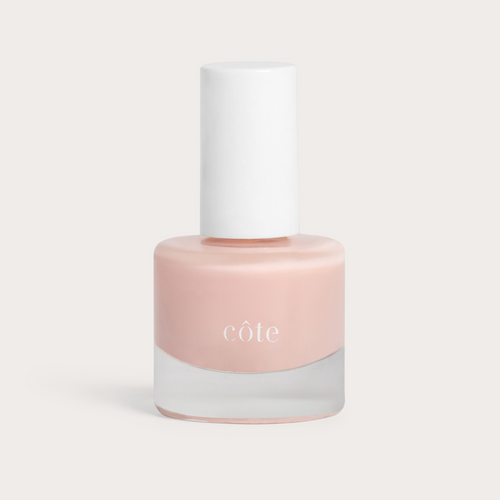
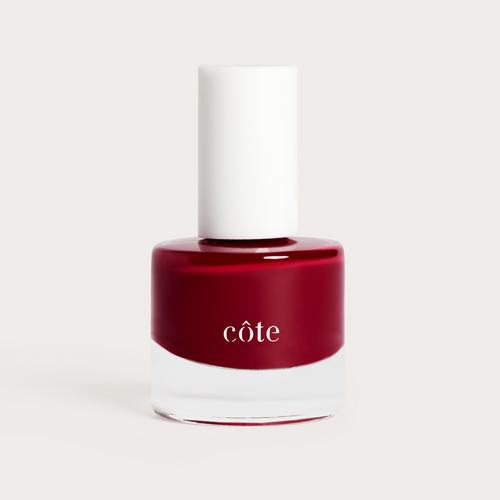
Color Nail Polish
Choosing your nail polish is the most fun part. Polish is essentially the color with which you’ll be painting. It’s best to select a good quality polish to protect and extend the life of your mani. Non-toxic nail polish is the healthiest way to maintain polished nails without damaging your natural nails in the process. There are no toxins or allergens that you’ll find in conventional polishes.
Cuticle Pusher and Nail Clipper
This tool is used to gently push back cuticles. The cuticle should be pushed back rather than removed altogether, which can leave nails susceptible to infection. After use, the nail plate is left neat and tidy, ready for nail polish. Use a nail clipper for trimming of nails and general shape creation.
Nail File
A nail file is a trusty instrument used to shape the nails. Available in many styles like glass, ceramic, and metal, a nail file is an essential tool in giving your nails their desired look. Before polish, it’s important to get the nails in shape, whether oval, almond, square, or round. You’ll end up with not only beautifully painted nails but perfectly shaped ones too.
Base Coat
The base coat is a special formula applied as the first layer. In just one coat, the base coat strengthens, protects and evens out the nail plate, preparing an ultra-smooth surface ready for painting. Base coats also create a “sticky” surface on which nail polish will adhere and stay in place. Without this application, your nails are left prone to chipping, peeling and staining.
Top Coat
Another essential item, the top coat is specially formulated to prolong color and protect from chipping and breaking. The top coat ultimately seals the manicure. It also adds a lovely shine to the finished nails (or a sophisticated matte finish if that’s your thing!. This is the final step after nail polish is dry.
Nail Polish Remover
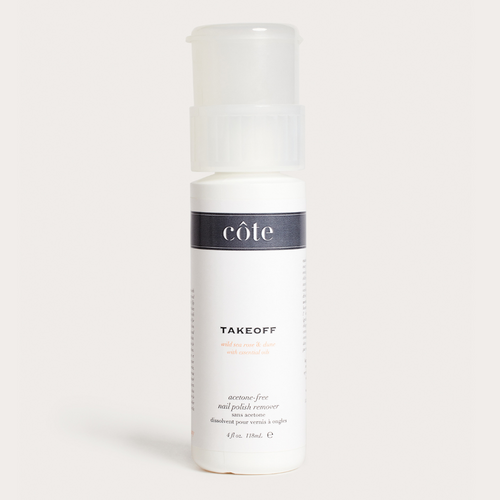
Nail polish remover is a solvent which does as the name suggests - removes nail polish. It’s an essential product to have at home, as old polish must always be removed prior to a new paint job. It is important to use an acetone free polish remover, as acetone is extremely harsh and drying on nails. A cotton pad or lint free pad is soaked in the remover, and placed onto each nail to penetrate, dissolve and remove the polish.
Cotton Balls
Cotton balls are good to have on hand as they are perfect for removing old nail polish using nail polish remover. The cotton is soft and kind to nails and doesn’t cause friction or trauma. They come in handy later too. When you’re cleaning up the edges using a cotton bud or q tip, it’s useful to dab excess nail polish remover onto the cotton ball, before going near your freshly painted tips.

Before Polish Prep: Nail Cleaning
Nail preparation before nail polish application is key to getting good results. Applying nail polish without the right cleanliness and prep would lead to a messy job. For the most professional finish, you need to get it right from the beginning. Here are 3 tips to ensure the result is flawless.
Acquiring beautiful nails isn’t just a case of slapping on some polish. There’s a process which takes place before color application.
Trim and File Your Nails
A good manicure always starts with the nails carefully trimmed and filed into shape. Firstly, take a pair of nail clippers and carefully trim the tips of your nails. Begin with one side and cut straight across. Do this in several movements, as opposed to one single cut. Trimming nails beforehand gets them neat and even.
Next, take a nail file and begin with one corner. Glide the nail file toward the center of the free edge and repeat. You should stick to one direction, and never proceed in a back and forth “sawing” motion. Keep going until you get the desired shape. The edges of your nails should be smooth without frays. A buffer block can be used for finer results.
Soak Your Nails in Warm Water
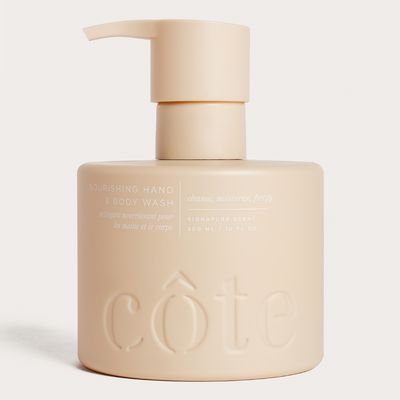
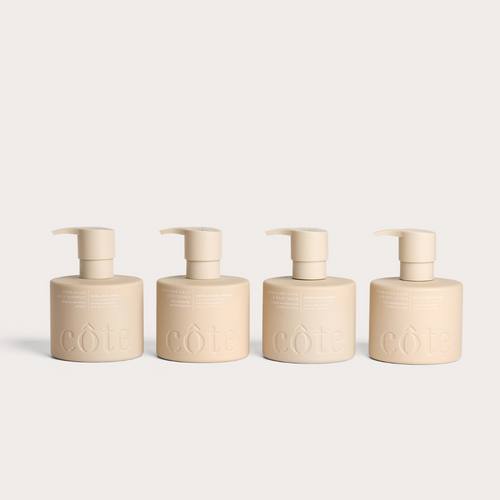
After your nails are shaped and buffed, you can move on to the relaxing part. Find a suitable container, such as a basin, and add warm water. Add a product of your choice to get the water nice and soapy, such as a hand wash or a facial cleanser. You can also opt for a gentle hand scrub to remove any dry skin. Sink your hands into the water for at least three minutes.
When complete, remove your hands and dry completely. It’s important to be gentle and thorough, ensuring your skin and nails are completely dry. The warm water helps to soften the cuticles so that when ready, you can gently push them back.
Push/Trim Cuticles
Nail cuticles are skin. They grow over the base of your nail bed and function to keep your nails free from infection. It’s always recommended that you never cut your cuticles, and instead, push them back and trim the excess skin.
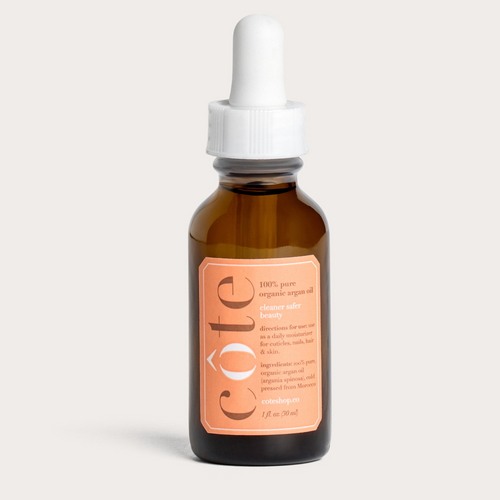
A cuticle pusher is required for this task. Being as delicate as you can be, push the cuticle back toward the nail matrix. You can remove any dry skin by trimming it away. Neat cuticles give you a clean base for applying polish. Cuticle oil can be applied later to moisturize the cuticles.
How to Apply Nail Polish Properly
You’ve made it this far, now let’s get into the tricky part! Follow these 5 steps to apply nail polish like a pro.
Step 1: Apply Base Coat
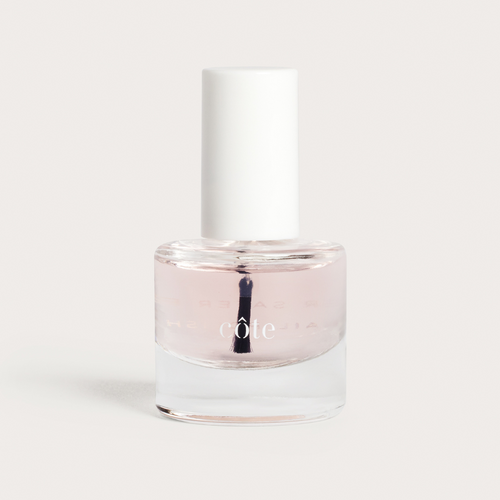
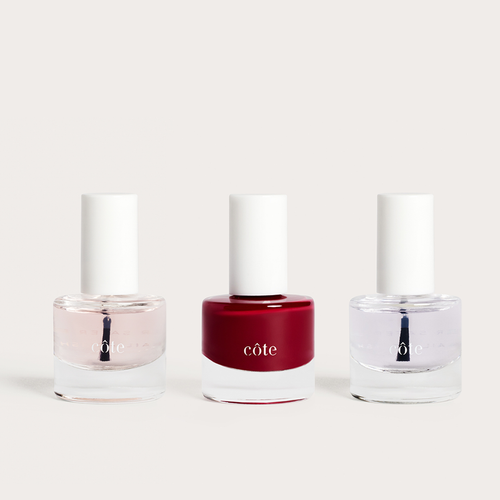
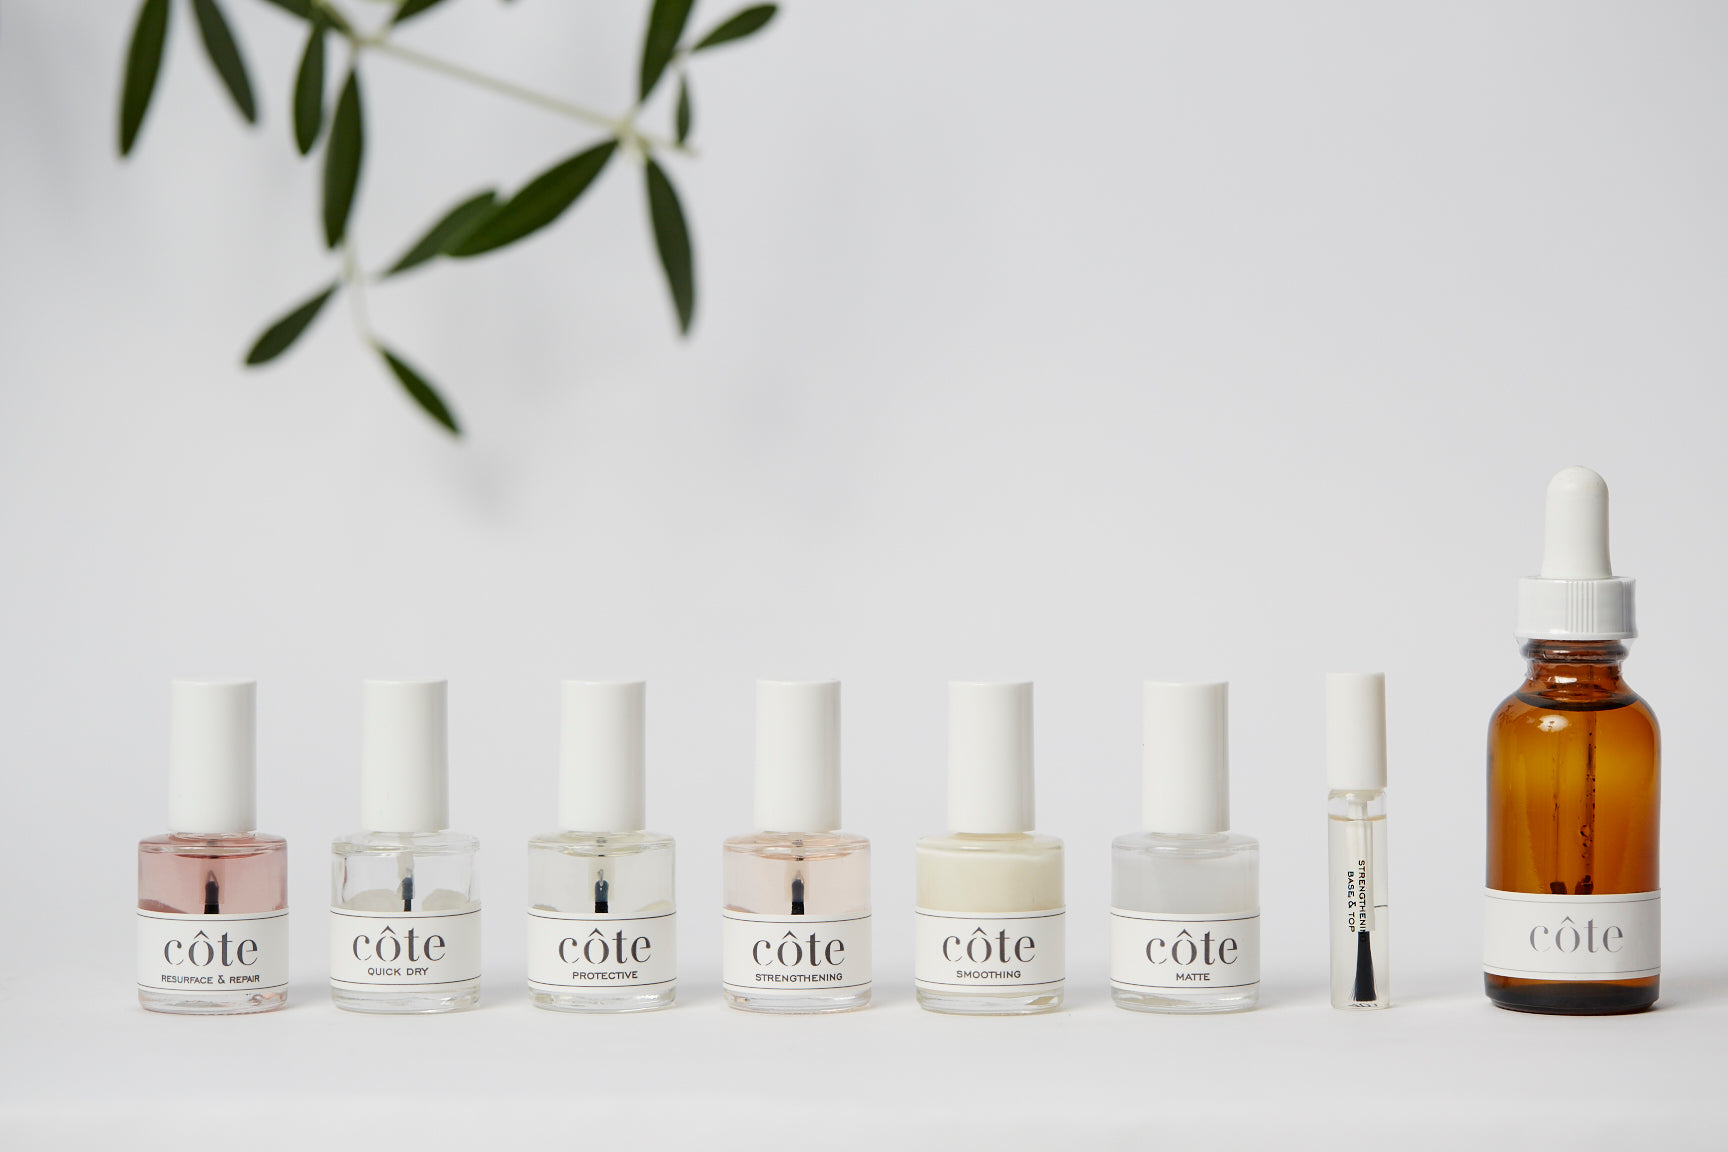
The base coat is the miracle formula that helps to strengthen, nourish and protect the nails. It also helps the polish to stick and extends the life of a manicure. Côte Resurface and Repair Base Coat are designed to repair natural nails, while Côte Smoothing Base Coat Nail Primer is formulated to act as a ridge filler, strengthener, and primer all in one.
This is the first layer of your manicure. Take the brush and remove the excess base coat, then coat a thin layer over each nail. Allow this coat to dry completely.
Step 2: Paint Your Nails
Apply your first coat of polish to each nail. With the brush, paint three strokes, and apply the polish in up to two layers. Only keep enough polish on the brush for a single nail. This stops excess polish from getting on your skin or going on too thick and lumpy.
Begin with the base of your nail, getting the brush as close to the cuticle as possible, without painting over it. Swipe from the base to the tip as neatly as you, starting with the center and spreading out to each side. Repeat this motion until every nail is coated evenly. Leave to dry before adding the second coat.
Step 3: Apply Your Second Coat
Not everybody chooses to add a second coat. However, two coats of color application ensure the true color comes through and offers the ultimate coverage. It also serves as a second layer of protection to prevent your polish from chipping. Apply this coat in the same way as the first, using three strokes of the brush to evenly coat a thin layer.
Step 4: Apply Top Coat
The top coat is the final step in the polish application process. Wait for the second coat to dry, then apply the top coat to each nail in a thin layer. This can be done in the same way as all other previous applications.
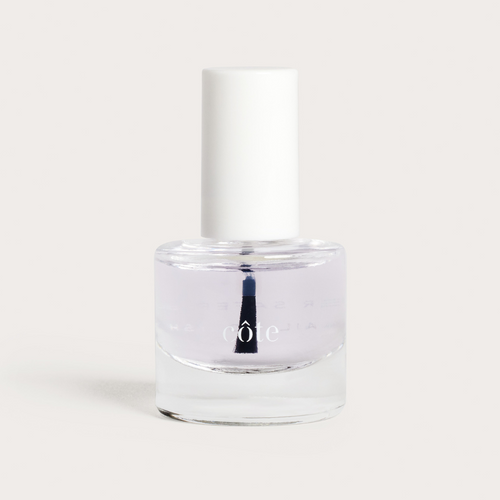
Nails dry faster with quick-drying top coats. Côte Quick Dry Top Coat offers a speedy drying solution, working in less than three minutes. If ultra-shine isn’t your thing, Côte Matte Top Coat turns shiny polish into soft matte.
Another tip is to soak your nails in ice water. You’ll see that the polish is dry when the cold water drips from your nails.
Step 5: Clean Nails and Edges
Once thoroughly dry, take a cotton q tip and trace the edges of your nails near the cuticle to wipe away any excess nail polish which has touched your skin. You can dip the q tip into nail polish remover, using a cotton pad to dab it beforehand. Be extremely precise to avoid accidentally touching your nails. Similar tools can be used to get the precision, such as a lip brush.
Conclusion
Well done! You’ve officially learned how to apply nail polish like a nail artist. Before you know it, you’ll be exploring nail art and different nail designs. Stick to our top tips for applying nail polish perfectly and you could make big savings with your at-home manicure. If you want to know more, our blog is a great place to read about nail care, Côte polishes, and treatments.
Start Your Self-Care Journey Here
VIEW ALLThe Ritual, Peptide Enriched Lip Treatment
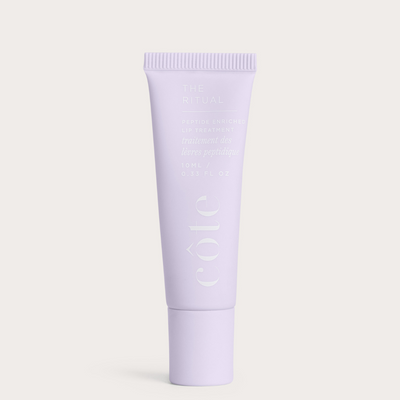
The Ritual, Peptide Enriched Lip Treatment
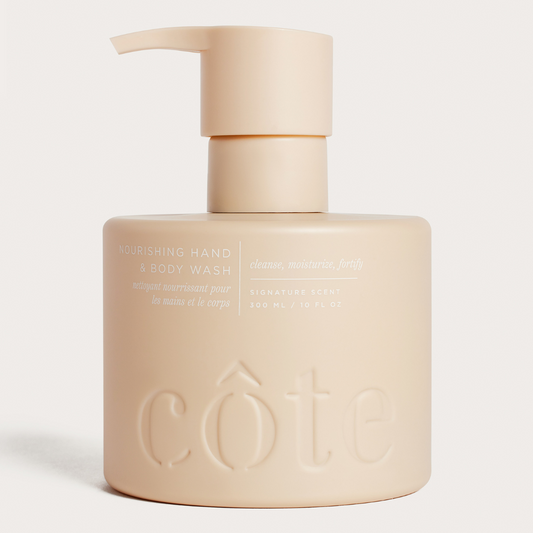
Nourishing Hand & Body Wash
