


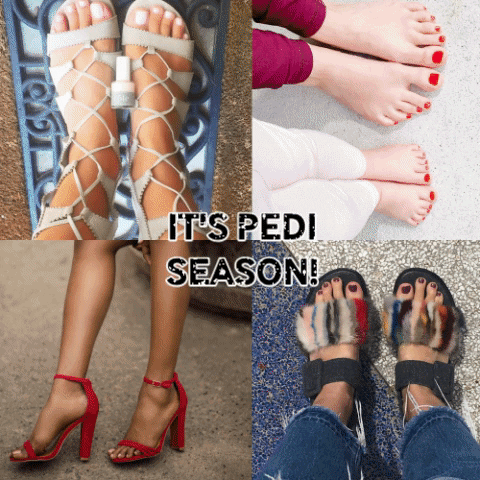
It’s June which means we are solidly in sandal season! It also means that toes need to look pretty and polished, even if you can’t pop in for a pedicure. Now that we've all mastered the DIY mani, it's time to move on to the DIY pedi...and this couldn't come fast enough! A simple DIY pedi is all you need to show off those feet and skip away in your cute summer shoes.
We caught up with some of côte’s amazing nail technicians to discover their secrets for achieving the perfect polished pedi look yourself...
STEP 1: CLEAN & SOFTEN
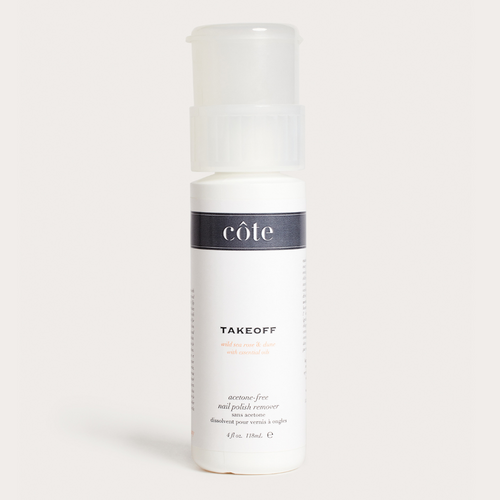
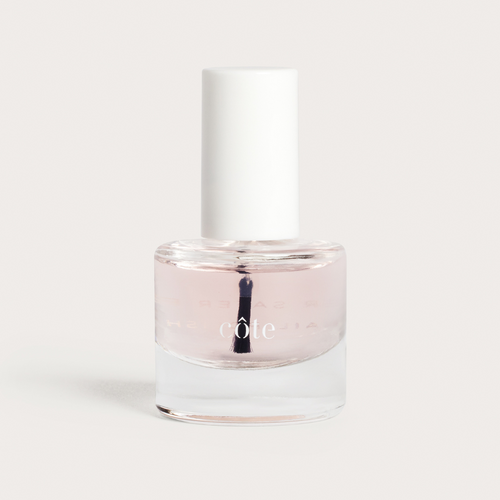
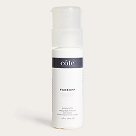
Using côte’s non-acetone remover, gently dissolve away any old polish and create a clean, dry nail bed with which to work.
pro-tip - If you have a few minutes, soak your feet in a bowl of warm water. Add a little body or hand soap to help cleanse and soften your skin and nails, then dry completely.
STEP 2: SHAPE & SMOOTH
Clip your nails with a large, straight edge clipper, being careful not to cut too close to the skin. Smooth the edges with a fine grit nail file to attain your desired shape.
STEP 3: HYDRATE
Feet can take a beating, especially in our hot summer months. Make sure to moisturize your feet with a rich cream or oil to keep your skin smooth and hydrated.
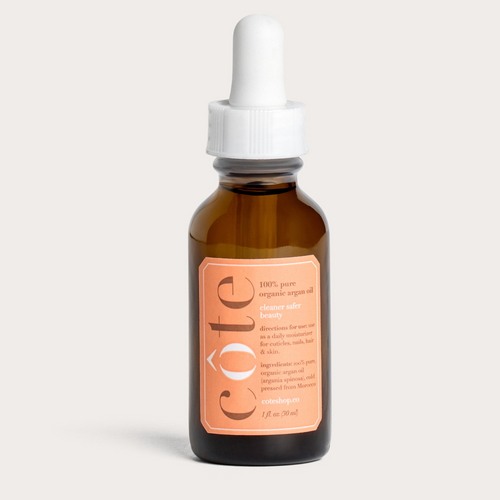
pro-tip – côte’s organic, cold -pressed argan oil is an amazing all-natural hydrator. Put a few drops on each foot and massage into heels, soles, toes and cuticles. After applying oil, make sure to re-clean your nail beds with a quick wipe of non-acetone remover.
STEP 4: PUMP UP THE BASE
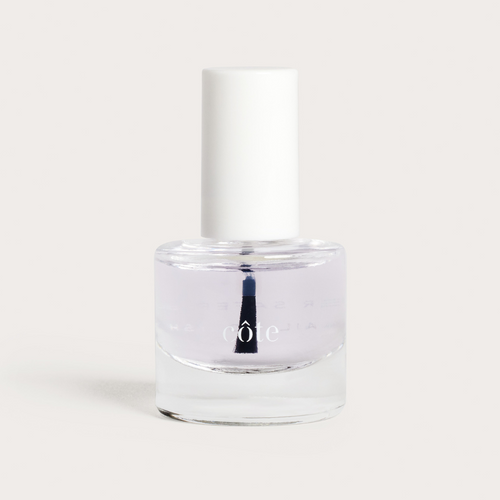
Start the polishing with one even layer of base coat. Don’t make the mistake of skipping this important step! A good base coat really helps colored polish stick and last.
pro-tip - côte’s smoothing base is an awesome base coat that enhances all nail types. This specially formulated treatment works as a ridge filler, strengthener and primer for natural nails, and creates a great base for polish adhesion.
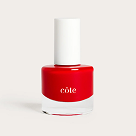
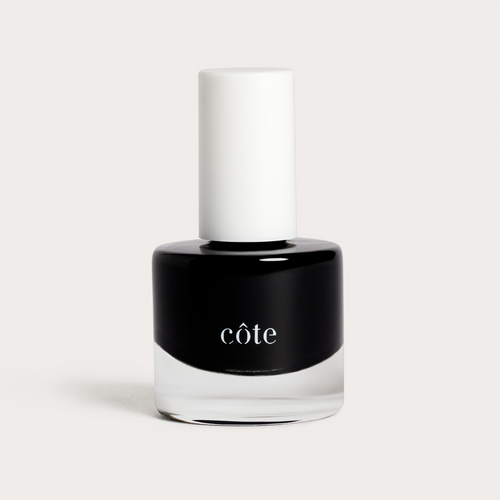
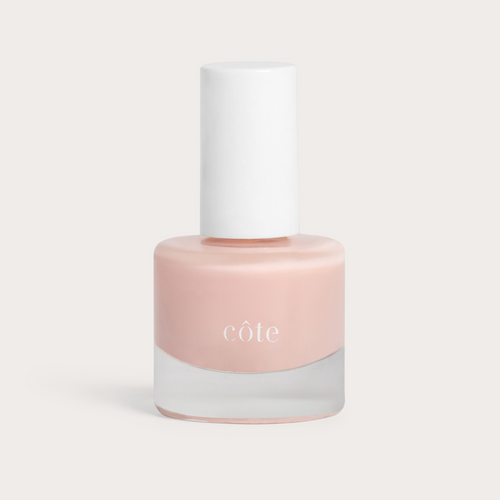
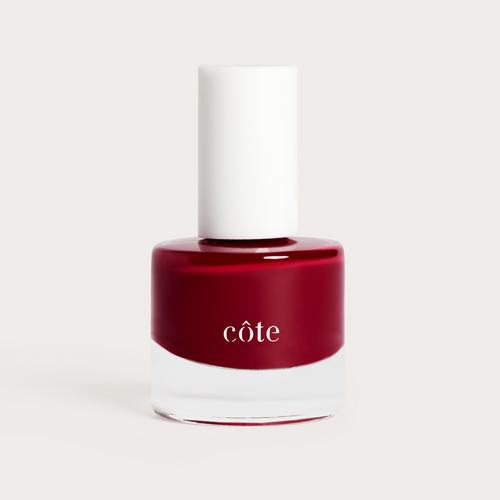
STEP 5: SHOW YOUR COLORS!
Time to paint those piggies! Making sure there is a medium amount of paint on your brush, evenly apply two coats of polish to toes.
pro-tip – To really make colors POP, try playing with layering. Use one application of côte no.2 (a crisp, clean white) followed by a layer of your favorite shade. Watch the color explode on your toes!
STEP 6: END UP ON TOP
Finish and lock in your color with a thin layer of top coat. Looking for high-shine? côte’s strengthening base & top is just the answer. Need to jet? reach for côte’s quick dry top.
pro-tip – Carefully swipe the tip of each nail to seal the edge and ensure no chips.
With your toes attended to and looking great, you’re back in the game! Grab those sandals and reach for that beach bag, you’re good to go. (Don’t forget your sunscreen!)
Start Your Self-Care Journey Here
VIEW ALL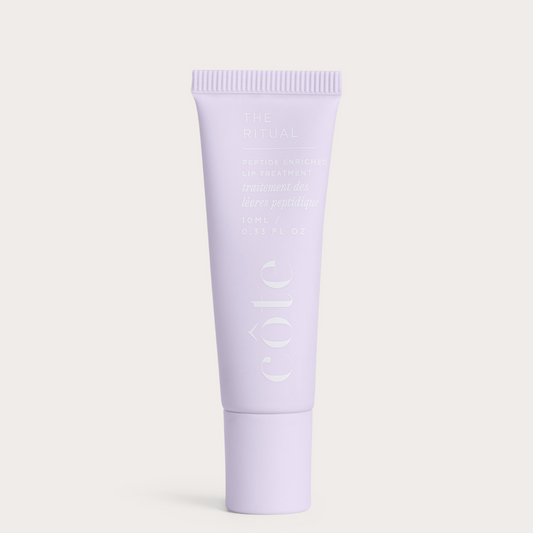
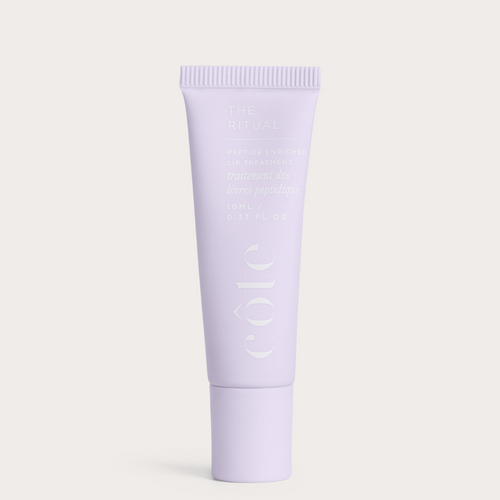
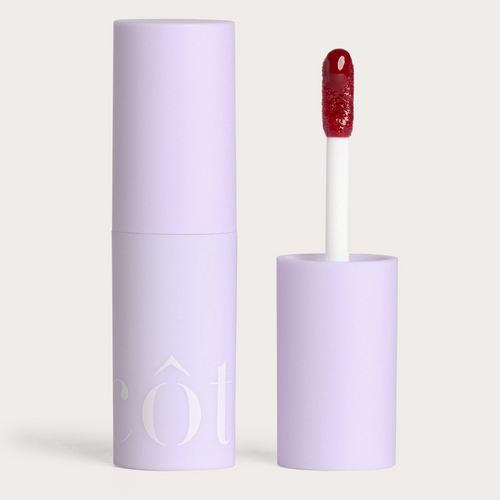
The Ritual, Peptide Enriched Lip Treatment
Regular price
$ 23.80
Regular price
$ 28.00
Sale price
$ 23.80
Unit price
per


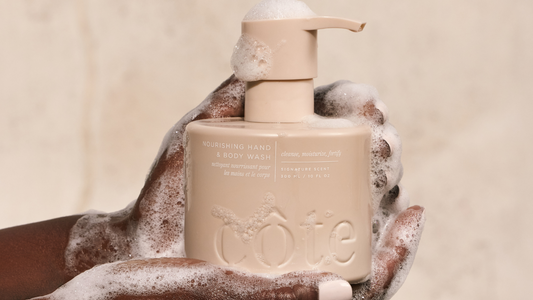
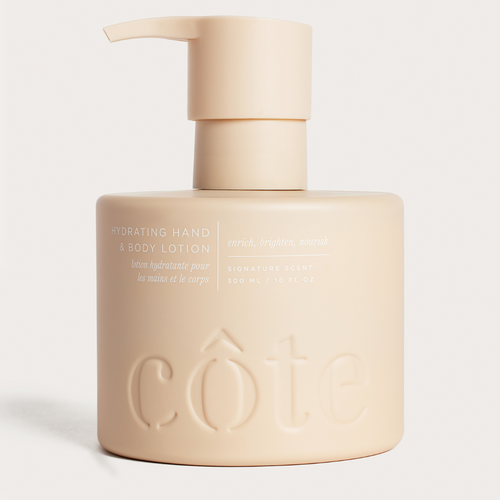
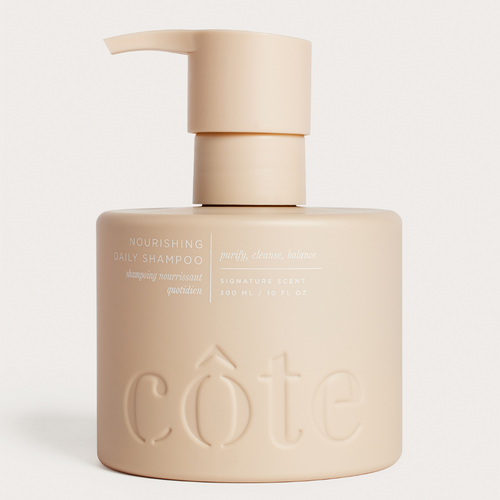
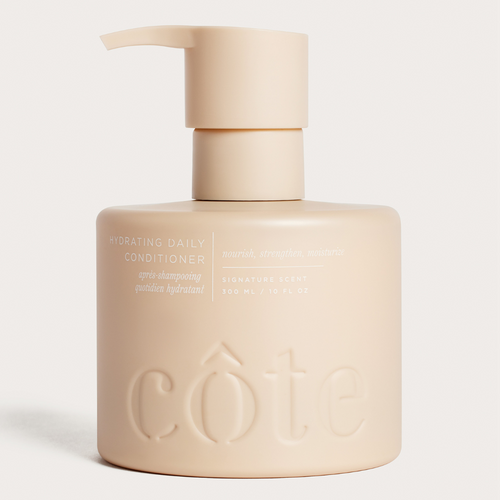
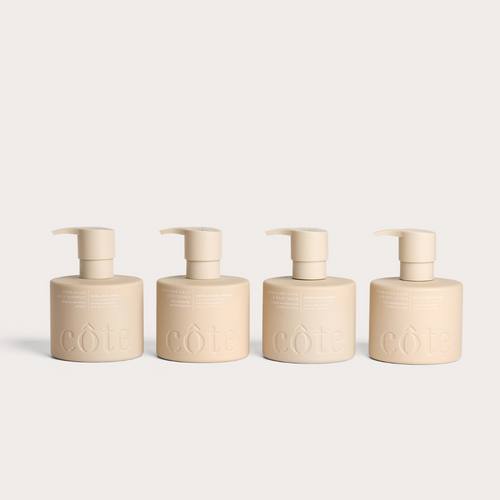
Nourishing Hand & Body Wash
Regular price
$ 25.60
Regular price
$ 32.00
Sale price
$ 25.60
Unit price
per


The Ritual, Peptide Enriched Lip Treatment

The Ritual, Peptide Enriched Lip Treatment
Nourishing Hand & Body Wash